This week, I have explored lightning in portrait photography. There are many ways to do lightning, and there are no right or wrong way (the same applies to exposure). However, there are lightning patterns that are more suitable for a particulary scenario. I’ll talk about some of them later.
Light comes from different sources and have different qualities. Light sources can be the sun and natural light, strobes or permantent light or flash which provides a burst of light for a short amount of time. The size of the light source and the distance to the subject matter has an impact on the amount and quality of light in your photography. The smaller the light source, the harder the light is. The sun, although it is very big, is relatively small in the sky and creates hard shadows.
Light can be hard or soft. Direct light creates hard shadows whereas indirect light cast softer shadows. You can modify a hard light by bouncing it off something and make it an indirect light instead. A reflector can be any surface that bounces light back,l for example a white cardboard or a silver covered umbrella. You can also use a reflector material to absorbe light if you have too much of it.
Another modifier is a diffuser. A diffuser is something the light travels through. Outside, clouds can be used as a huge diffuser, making the sunlight soft and lovely, even in mid-day scenarios. Inside, you can use fabrics to put in front of your light so that the light spreads out and gets bigger (bigger light source equals softer light).
Light also has a colour, measured in Kelvin and is called a temperature. We therefore talks about cold and warm light (and anything between). A candle has a low Kelvin of approx 1000. A cold winterday in full sunshine has a temperature of 10 000 Kelvin. An ordinary day outside is approx 55600 Kelvin. I have a post about colour temperature from a previous course, but basically, if you shoot with the wrong colour temperature, your images get too yellow or too blue. Your camera measures the colour temperature and adds a complementary colour to neutralize colour casts. Anyhow, colour temperature is not a part of this assignment, but it is noteworty that colour has a source, a quality, a direction and a temperature.
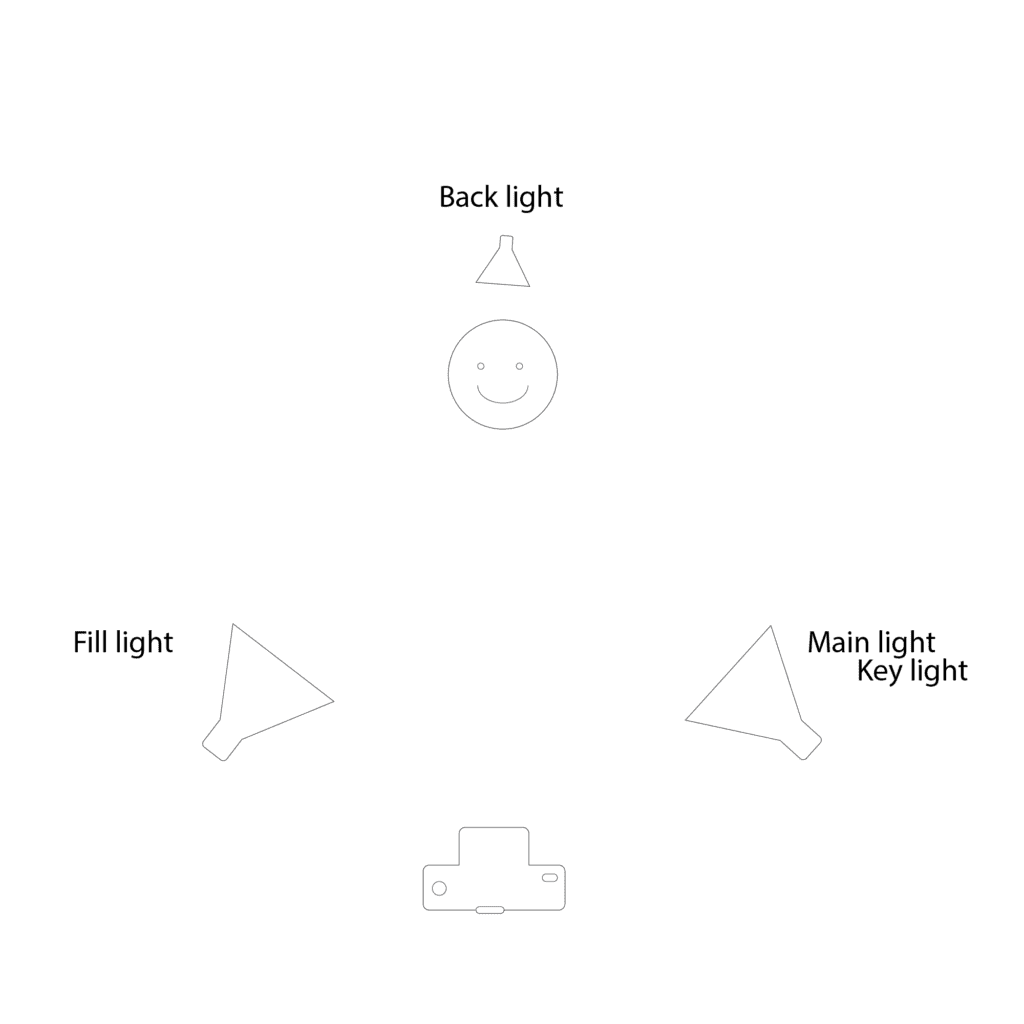
Three point lightning setup
In a three point lightning setup, you use three light sources. Which one is up to you. Your main light is called the key light. Your secondary light is the fill light and the last one is the backlight. The key light can be the sun, but can also be a strobe or a flash. The fill light can be the sun, a strobe, a flash or a reflector. The backlight can also be a variety of sources. What’s important is the quality and size of the light.
Lightning patterns for portrait, fashion and beauty
There are many ways to arrange light and lightsources, depending on your needs. Here are some common patterns for lightning.
For a portrait light setup, it is common to use a 2:1 lighting ratio on your light sources, and a key light and a fill light to illuminate the subject. By ratio I mean light power. If you use a flash as lightsource, and you have your key light on full power (1/2), then your fill light should be on half power (1/2). If your key light is 1/8, your fill light should be on 1/16. It is adviced to use softboxes to soften and spread of ligh. For fashion photography, it is common with a 4:1 ratio on your light sources. Key light = 1/1, then fill light should be 1/32 power.. Beauty photography is a little more dramatically, with a 4:1 setup for light, and where you substitute the softbox with a beauty dish, a kind of umbrella reflector that shoots concentrated light on the subject to create a harder light (but not as hard as direct light) and more contrast.
In the lesson task for this week, we should also find images on the internet or in a magazine and explain the lightning pattern for those images. I find it risky to grab images from the internet, so I will produce images with those lightning patterns and explain the lightning setup on those. Later, that is.
Practical assignment, portraits
In this section, I’m going to put what I’ve learned into practice.
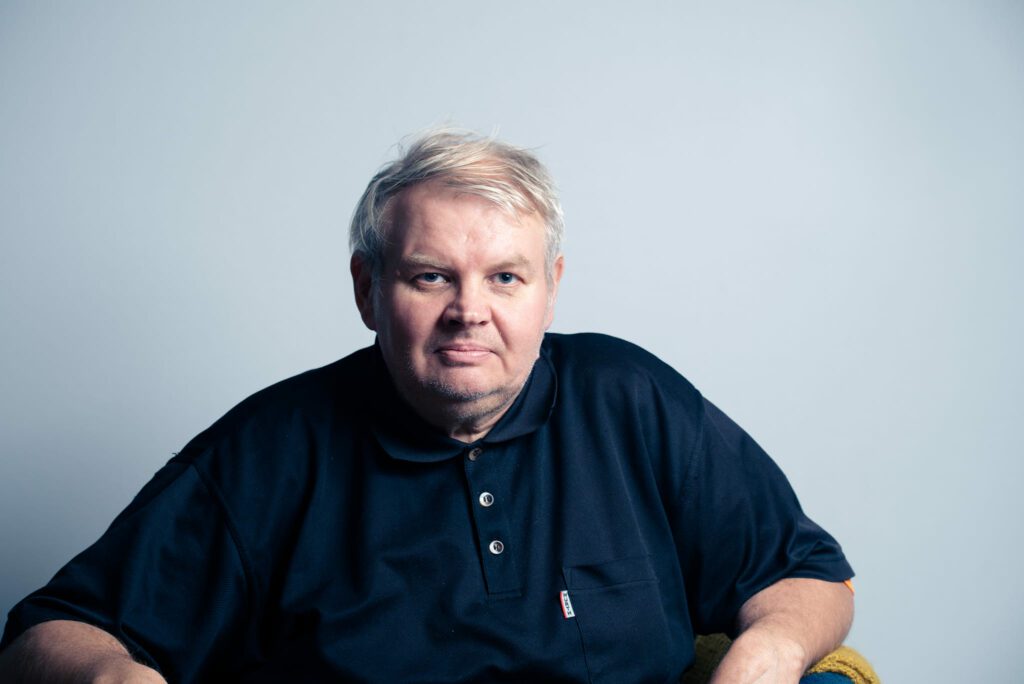
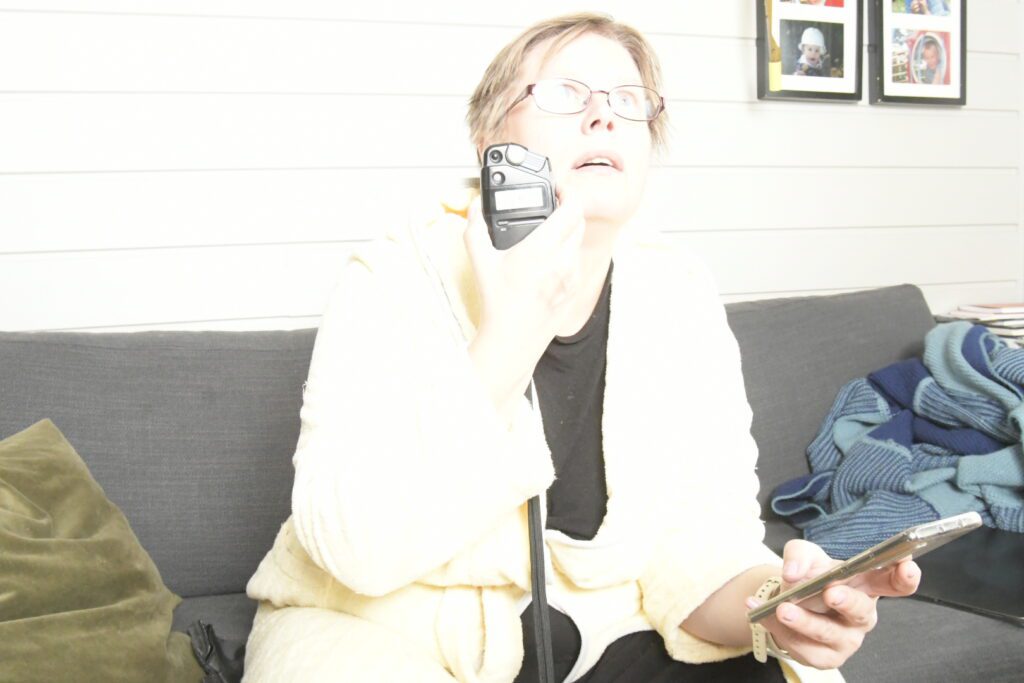
The flash is on 1/8 power which is quite high. I wasn’t able to compensate with the sun light in the shadows, so his right side is quite dark. A reflector would have been better here, that the sunshine through the clouds.