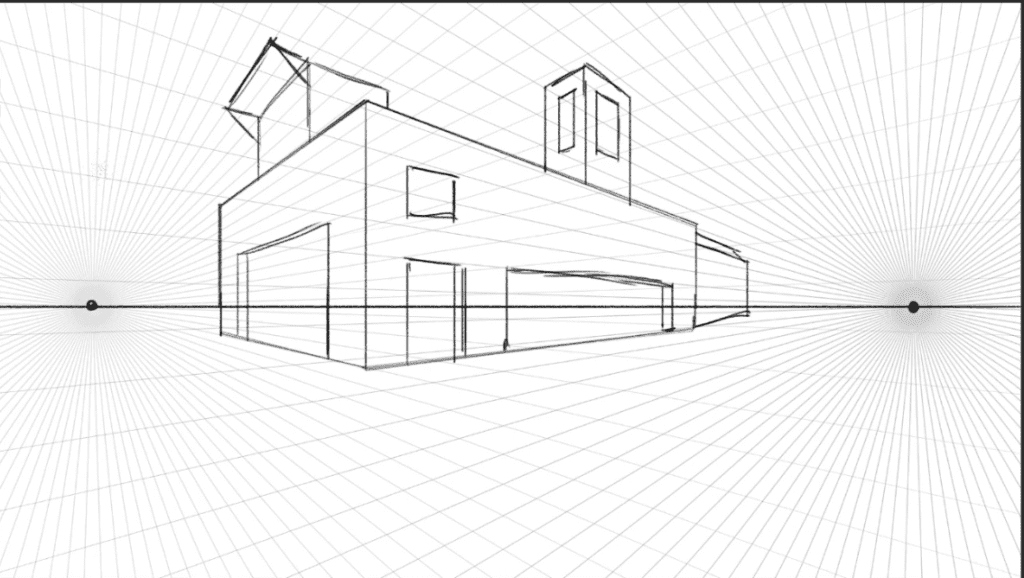
Establishing shot – gives the viewer a context for the scene. Location setup, lets the viewer know where the action is taking place.
Wide shot – Shooting groups of people or large action sequences usually require a wide shot. They give the viewer a large perspective on what’s happening.
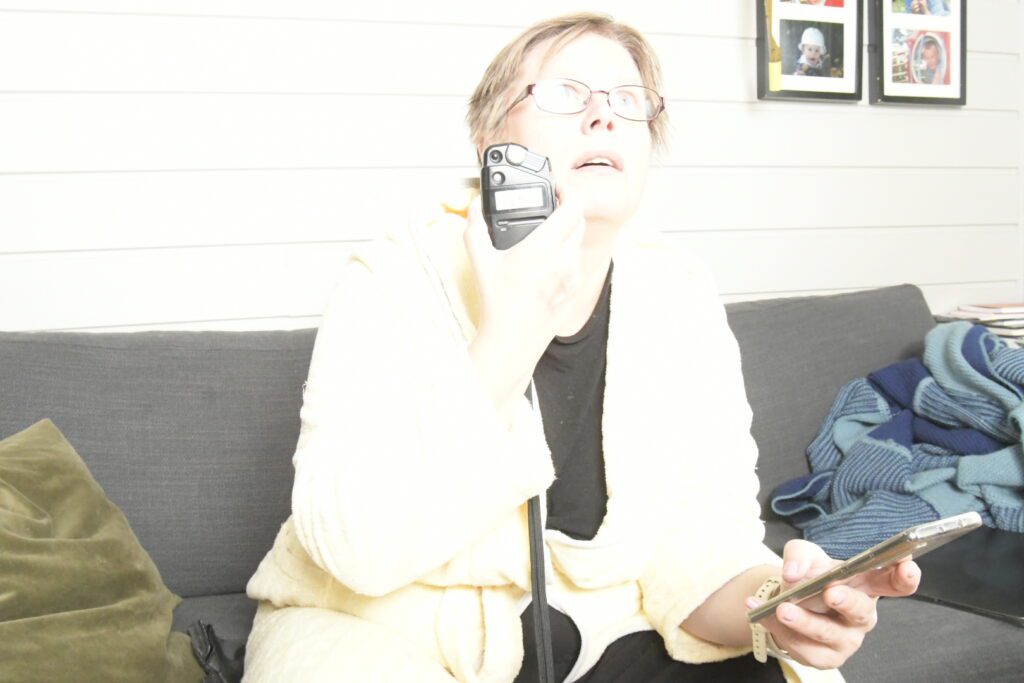
Medium shot – Usually used when focusing on two characters , it’s a split between a wide and a close-up. They give the context of the location but also show the characters’ emotions.
Close up – best way of showing facial expressions
High angle shot – Usually signifies danger or a smaller or diminished character when used from a first-person perspective.
Low angle shot – This gives the subject power or confidence. When the hero walks into a situation that needs saving, they are usually framed from a low angle to ensure the viewer knows they’re powerful.
Extreme close up
Worm eye view (extreme low camera angle)
Birds eye view
Over the shoulder shot – used mainly for dialog
Point of view shot – from the first person perspective
How to create a linear perspective grid in Photoshop:
New layer. Shape tool->polygon. 100 sides, star ratio: 1%

Camera movement
Zoom in/out – The camera is still, but you use the lens or digital features to make objects appear closer.
Dolly – camera is moving backwards or forewards
Tilt – the vertical angle changes
Roll – Physically rotating the camera but keeping its orientation and angle the same.
Pan – horisontal moving
Truck – Similar to a ‘dolly’, but the camera is facing perpendicular to the direction it’s moving.
Pedestal – The camera’s angle stays still, but the physical camera moves up or down.
Note to self: Storyboard on a timeline = Animatic
To create an animatic, follow these steps:
- Step 1 – Export your artboards into PNGs or JPEGs.
- Step 2 -Open editing software (eg. Premiere Pro) and import your images.
- Step 3 -Place them onto your timeline.
- Step 4 -Extend or shorten each shot so that it’s at the pace you want.
- Step 5 -You can add music or sound effects to give your animatic more emotion.
