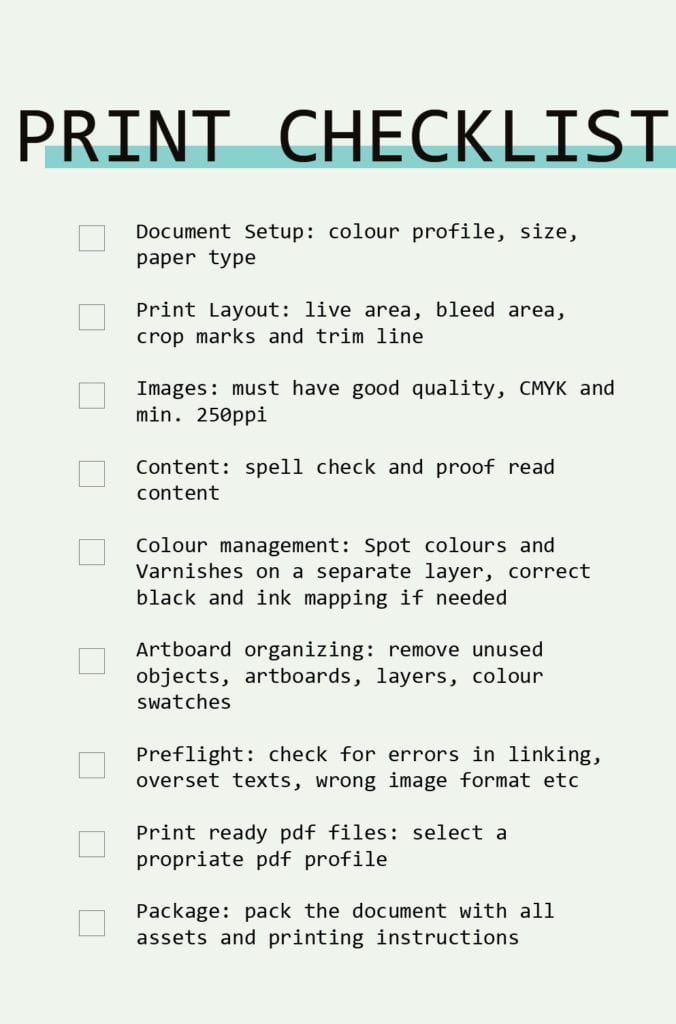
A print job with errors is wasted money, so a thoroughly error check process in beforehand is smart. In this week’s learning assignment, one task is to design my own print checklist. So I did.

The next step is to apply this checklist to my tourist brochure.
The first thing I had to do was convert my images from RGB to CMYK. The images are originally used for web, and has a 72 ppi resolution. This is not printing quality: 250 dpi or above, but if I convert to 250 dpi, the image size would be too small and I would have to replace all the images. I note this issue until next time: make sure images are in the correct format from the beginning.
I also had to relink a couple of imags after moving them to the asset folder in the project folder. Again, the importance of being organized.
Another step is to select an appropriate pdf format for my export files. There are many to choose from, but according to the Internet, “PDF/X-4a will yield the highest quality, most reliable PDF for print publishing. A close second is High Quality Print.” Another person says:
Choose Press Quality if you want to print : Offset
Choose Hight Quality for Digital Print not Offset
I’ll go with pdf/x-4a
The final step is to pack my files, where all fonts, images and graphics are put in a folder structure, and printing instruction documents are added. If there are any errors regarding colour profile in images, the package preflight will guide you.

Paper weight and types, and GSM
Printing on paper requires a choice of paper type and paper weight. The measurement for paper weight is GSM, gram per square meter.
- 350 GSM is a thick paper, that can be used for business cards of reasonable quality
- 180 to 250 GSM – Magazine cover thickness
- 130 to 170 GSM – Good for posters with limited durability
- 90 GSM – Inner pages in magazines
- 35 to 55 GSM – Newspaper thickness
- Less than 35 GSM – Not recommended, but I guess the bible is printed in this thin paper
I believe that heavier paper than this is cardboard.
A paper also has a texture, the way the paper feels in your hands and there are many ways to describe this.
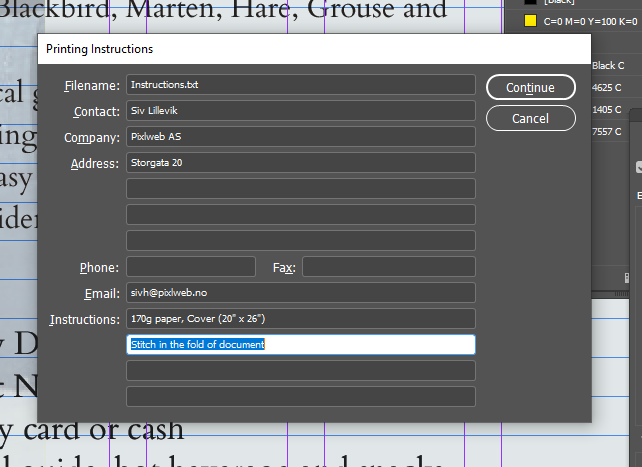
In this article, various bindings are listed – most of them are, as I see them, for more high end print productions. I envision a single, or maybe two stitches in the back of my brochure, just to keep it together for some time. A tourist brochure is not meant to last, so “perfect binding”, “saddle stitch” and combo/spiral/wire binding all seem too much. I added the instructions to the print instruction file in the project.

